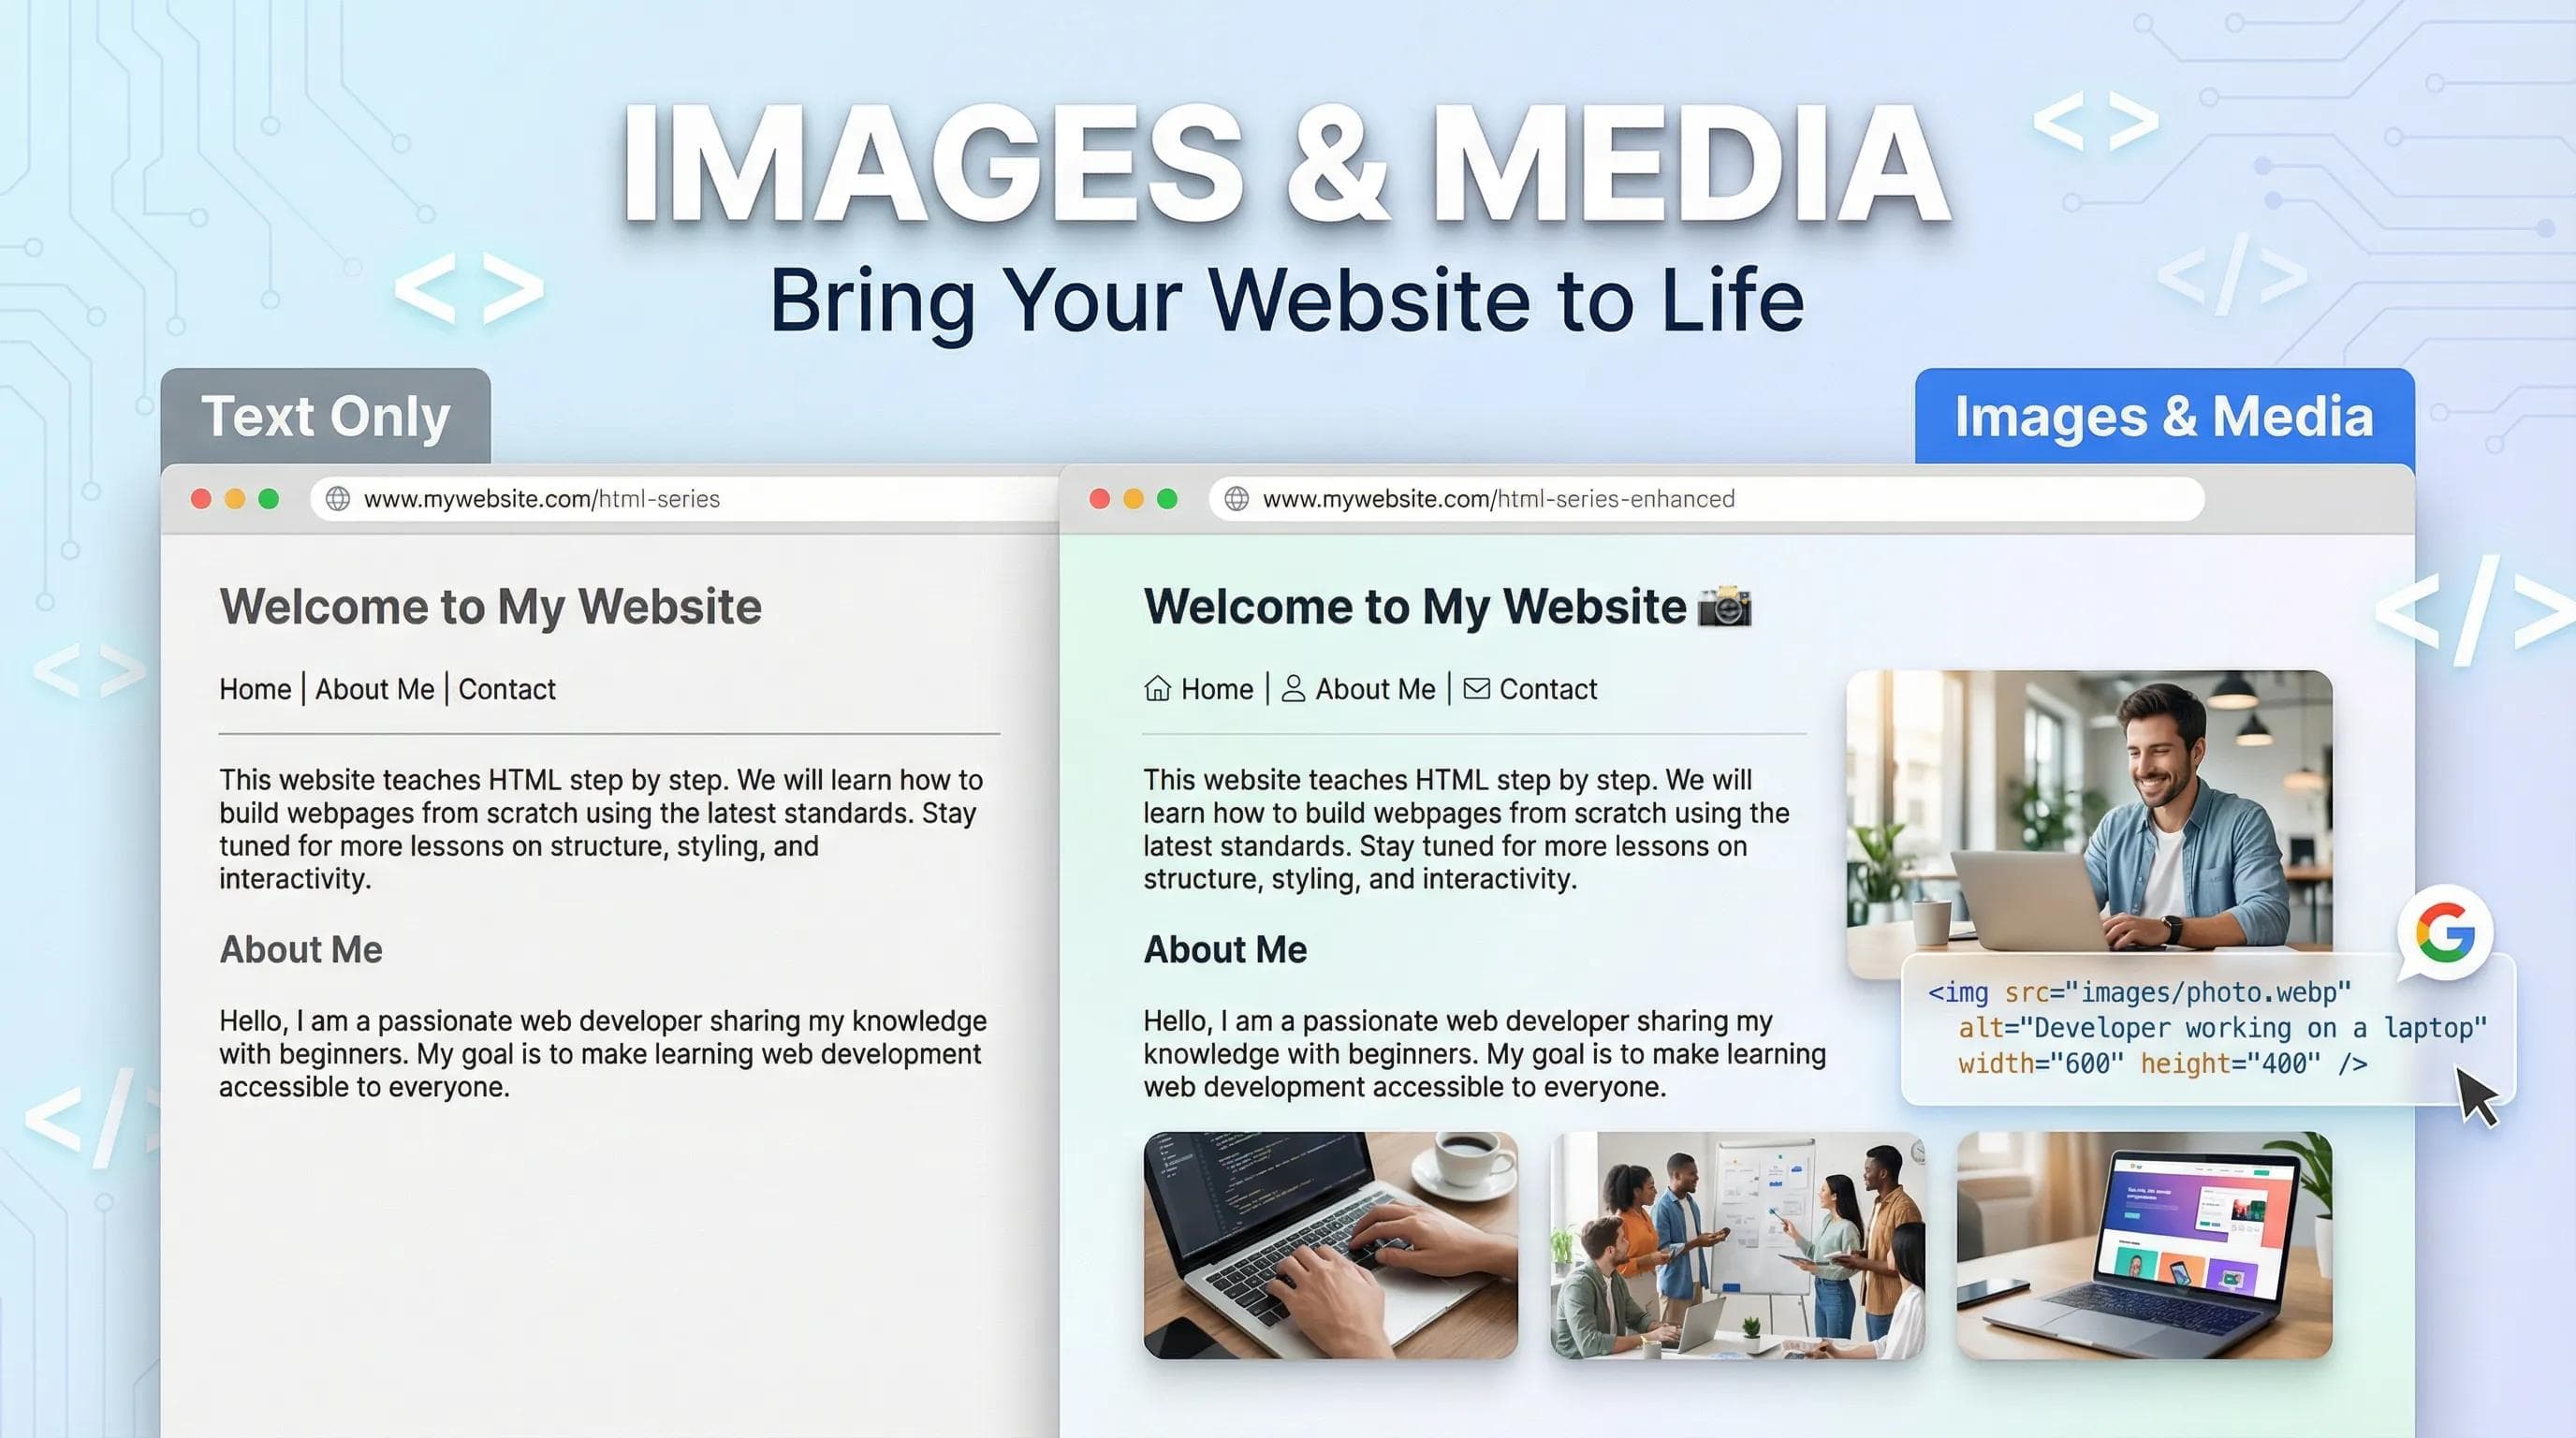
A Picture is worth thousands of lines of Code
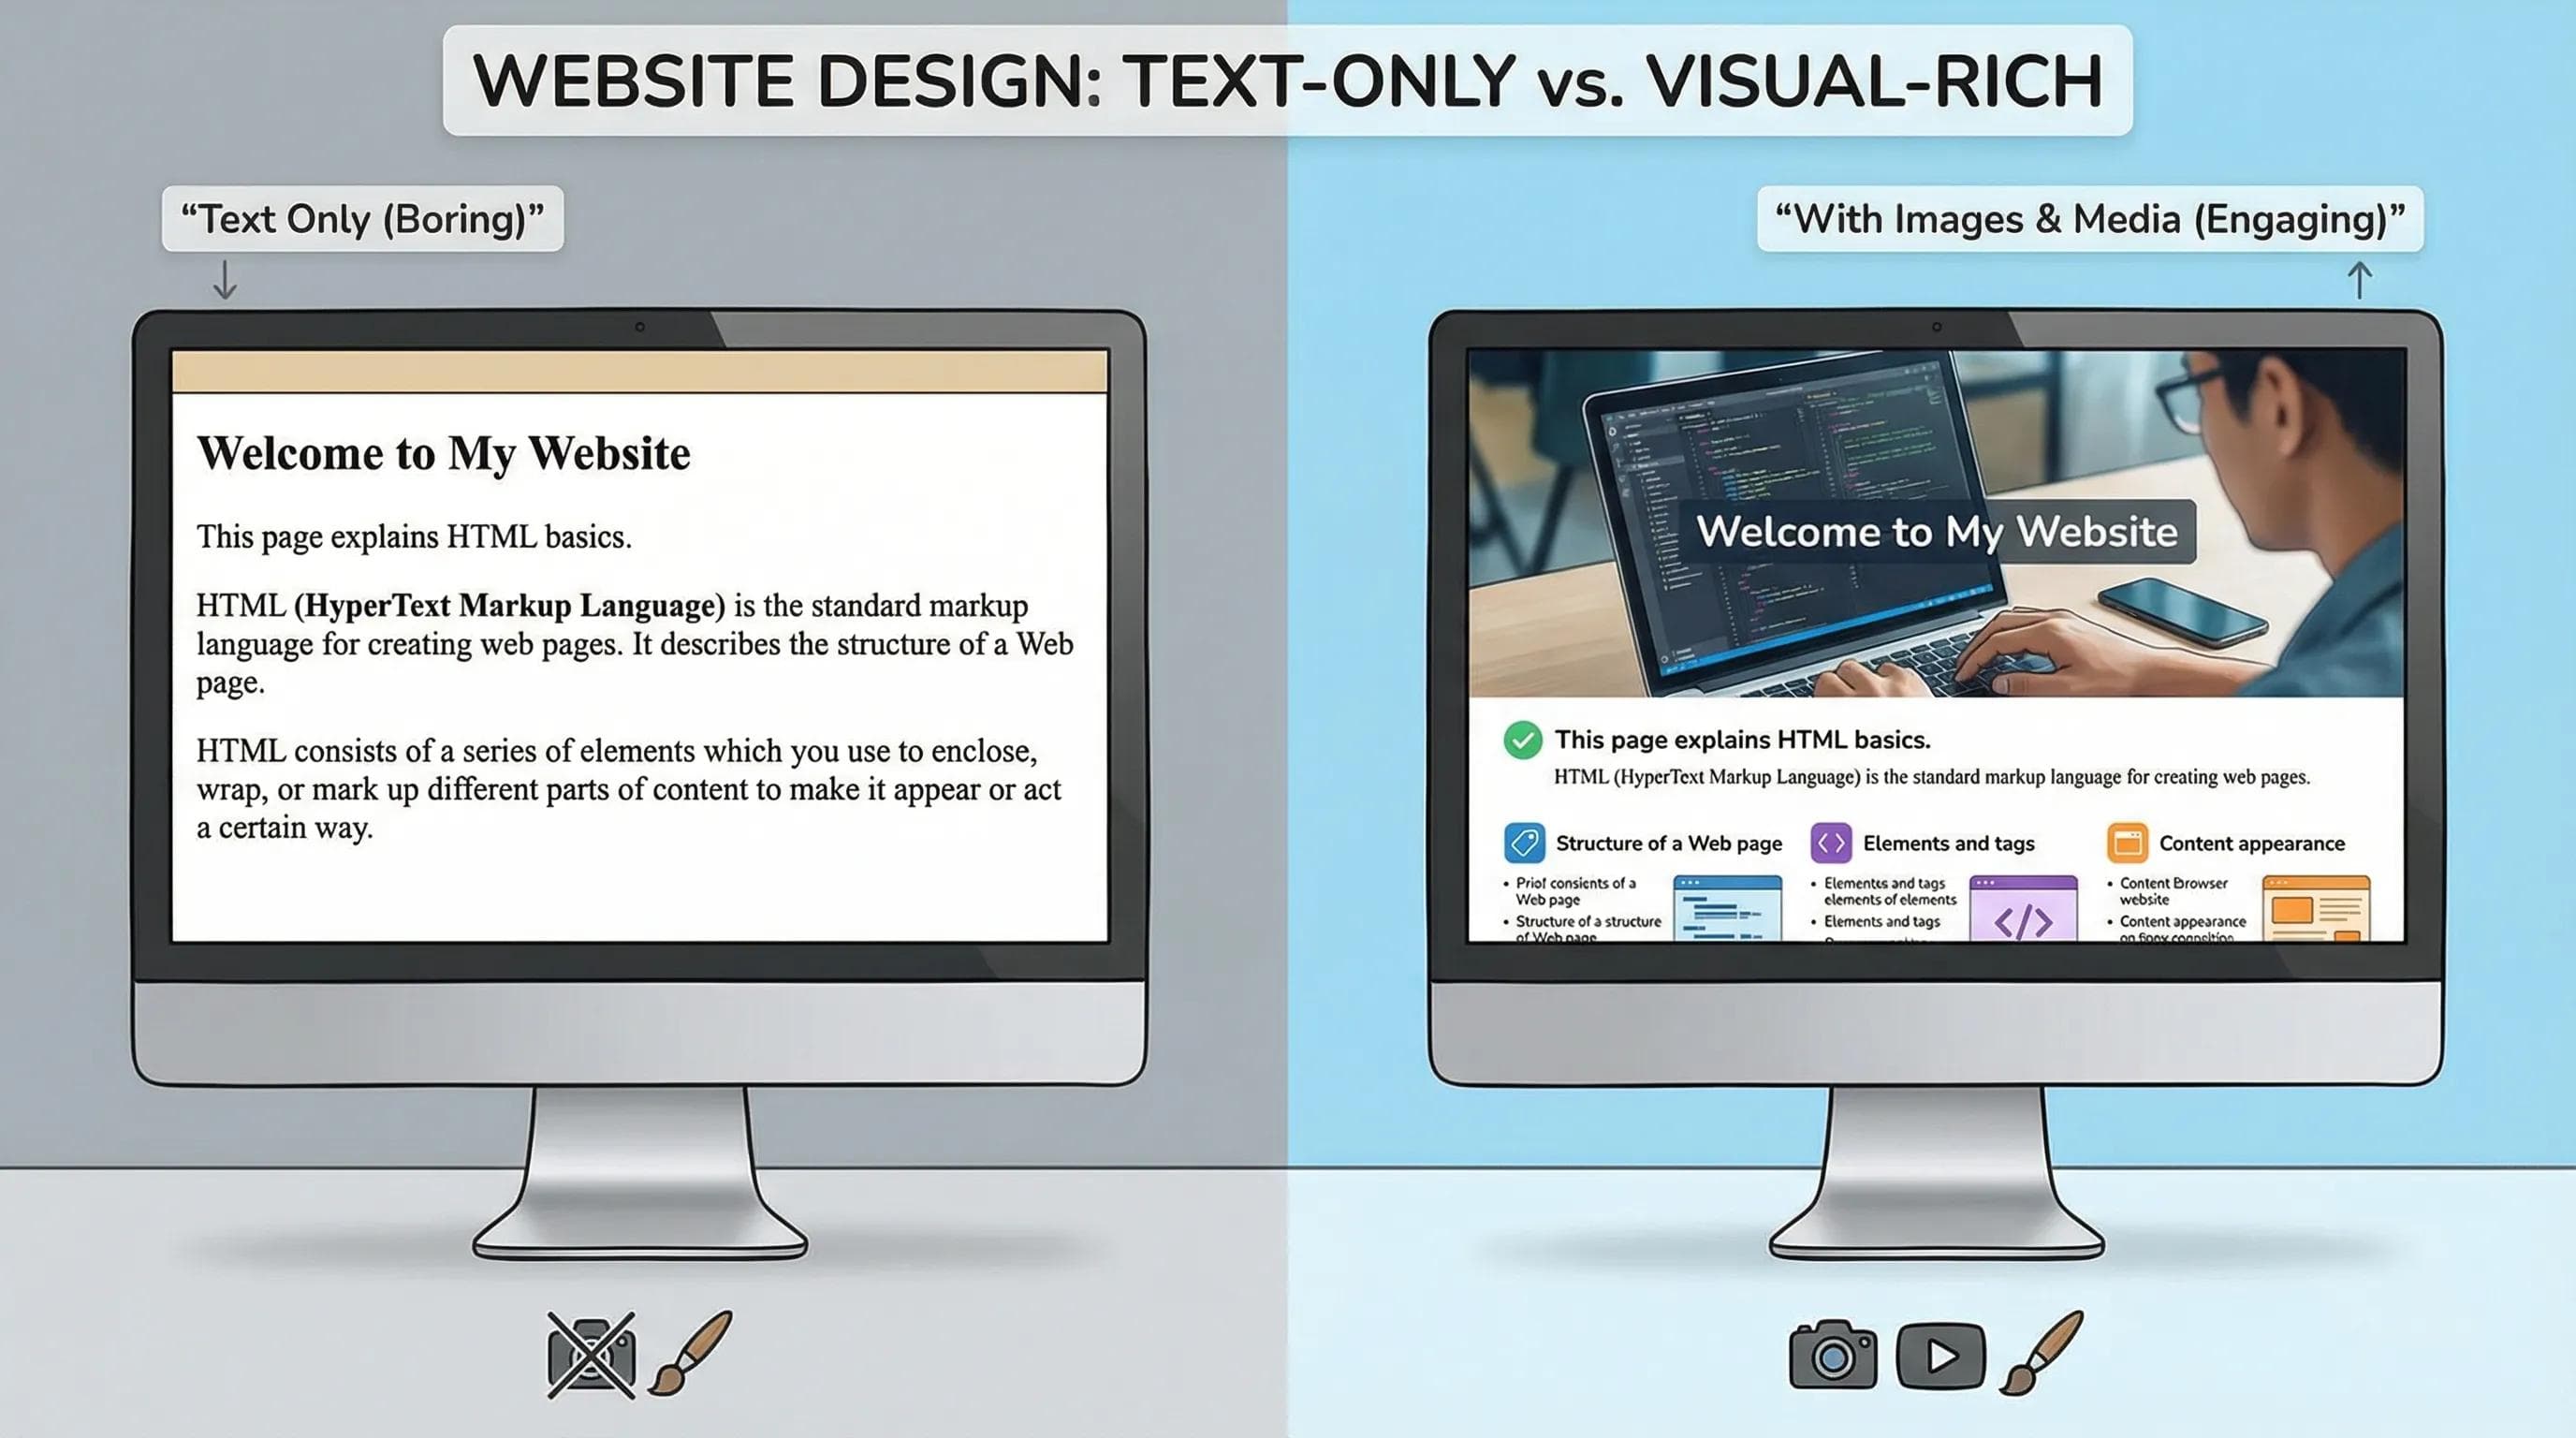
In the previous blog, we connected our pages using Links, our website works, but let's be honest - it looks like a government document from 1995. It is just walls of text.

Did you know?
The human brain processes visuals 60,000 times faster than text, so if you want users to stay on your website, you cannot just tell them things; you have to show them.
So, for that today we are going to add color, life, and personality to your website using the Image Tag!
The <img> (Loner Tag)
The Image tag is a bit of a rebel.
Unlike
Unlike
<h1> or <p>, which have a start tag and an end tag, the image tag is a Self-Closing Tag and that's why it's also known as Void Element.It does not hold content inside it; it is the content. Let’s have a look at this example in snippet below :
html
<img src="photo.webp" alt="Description">Did you notice?? there is no
</img>. It just ends.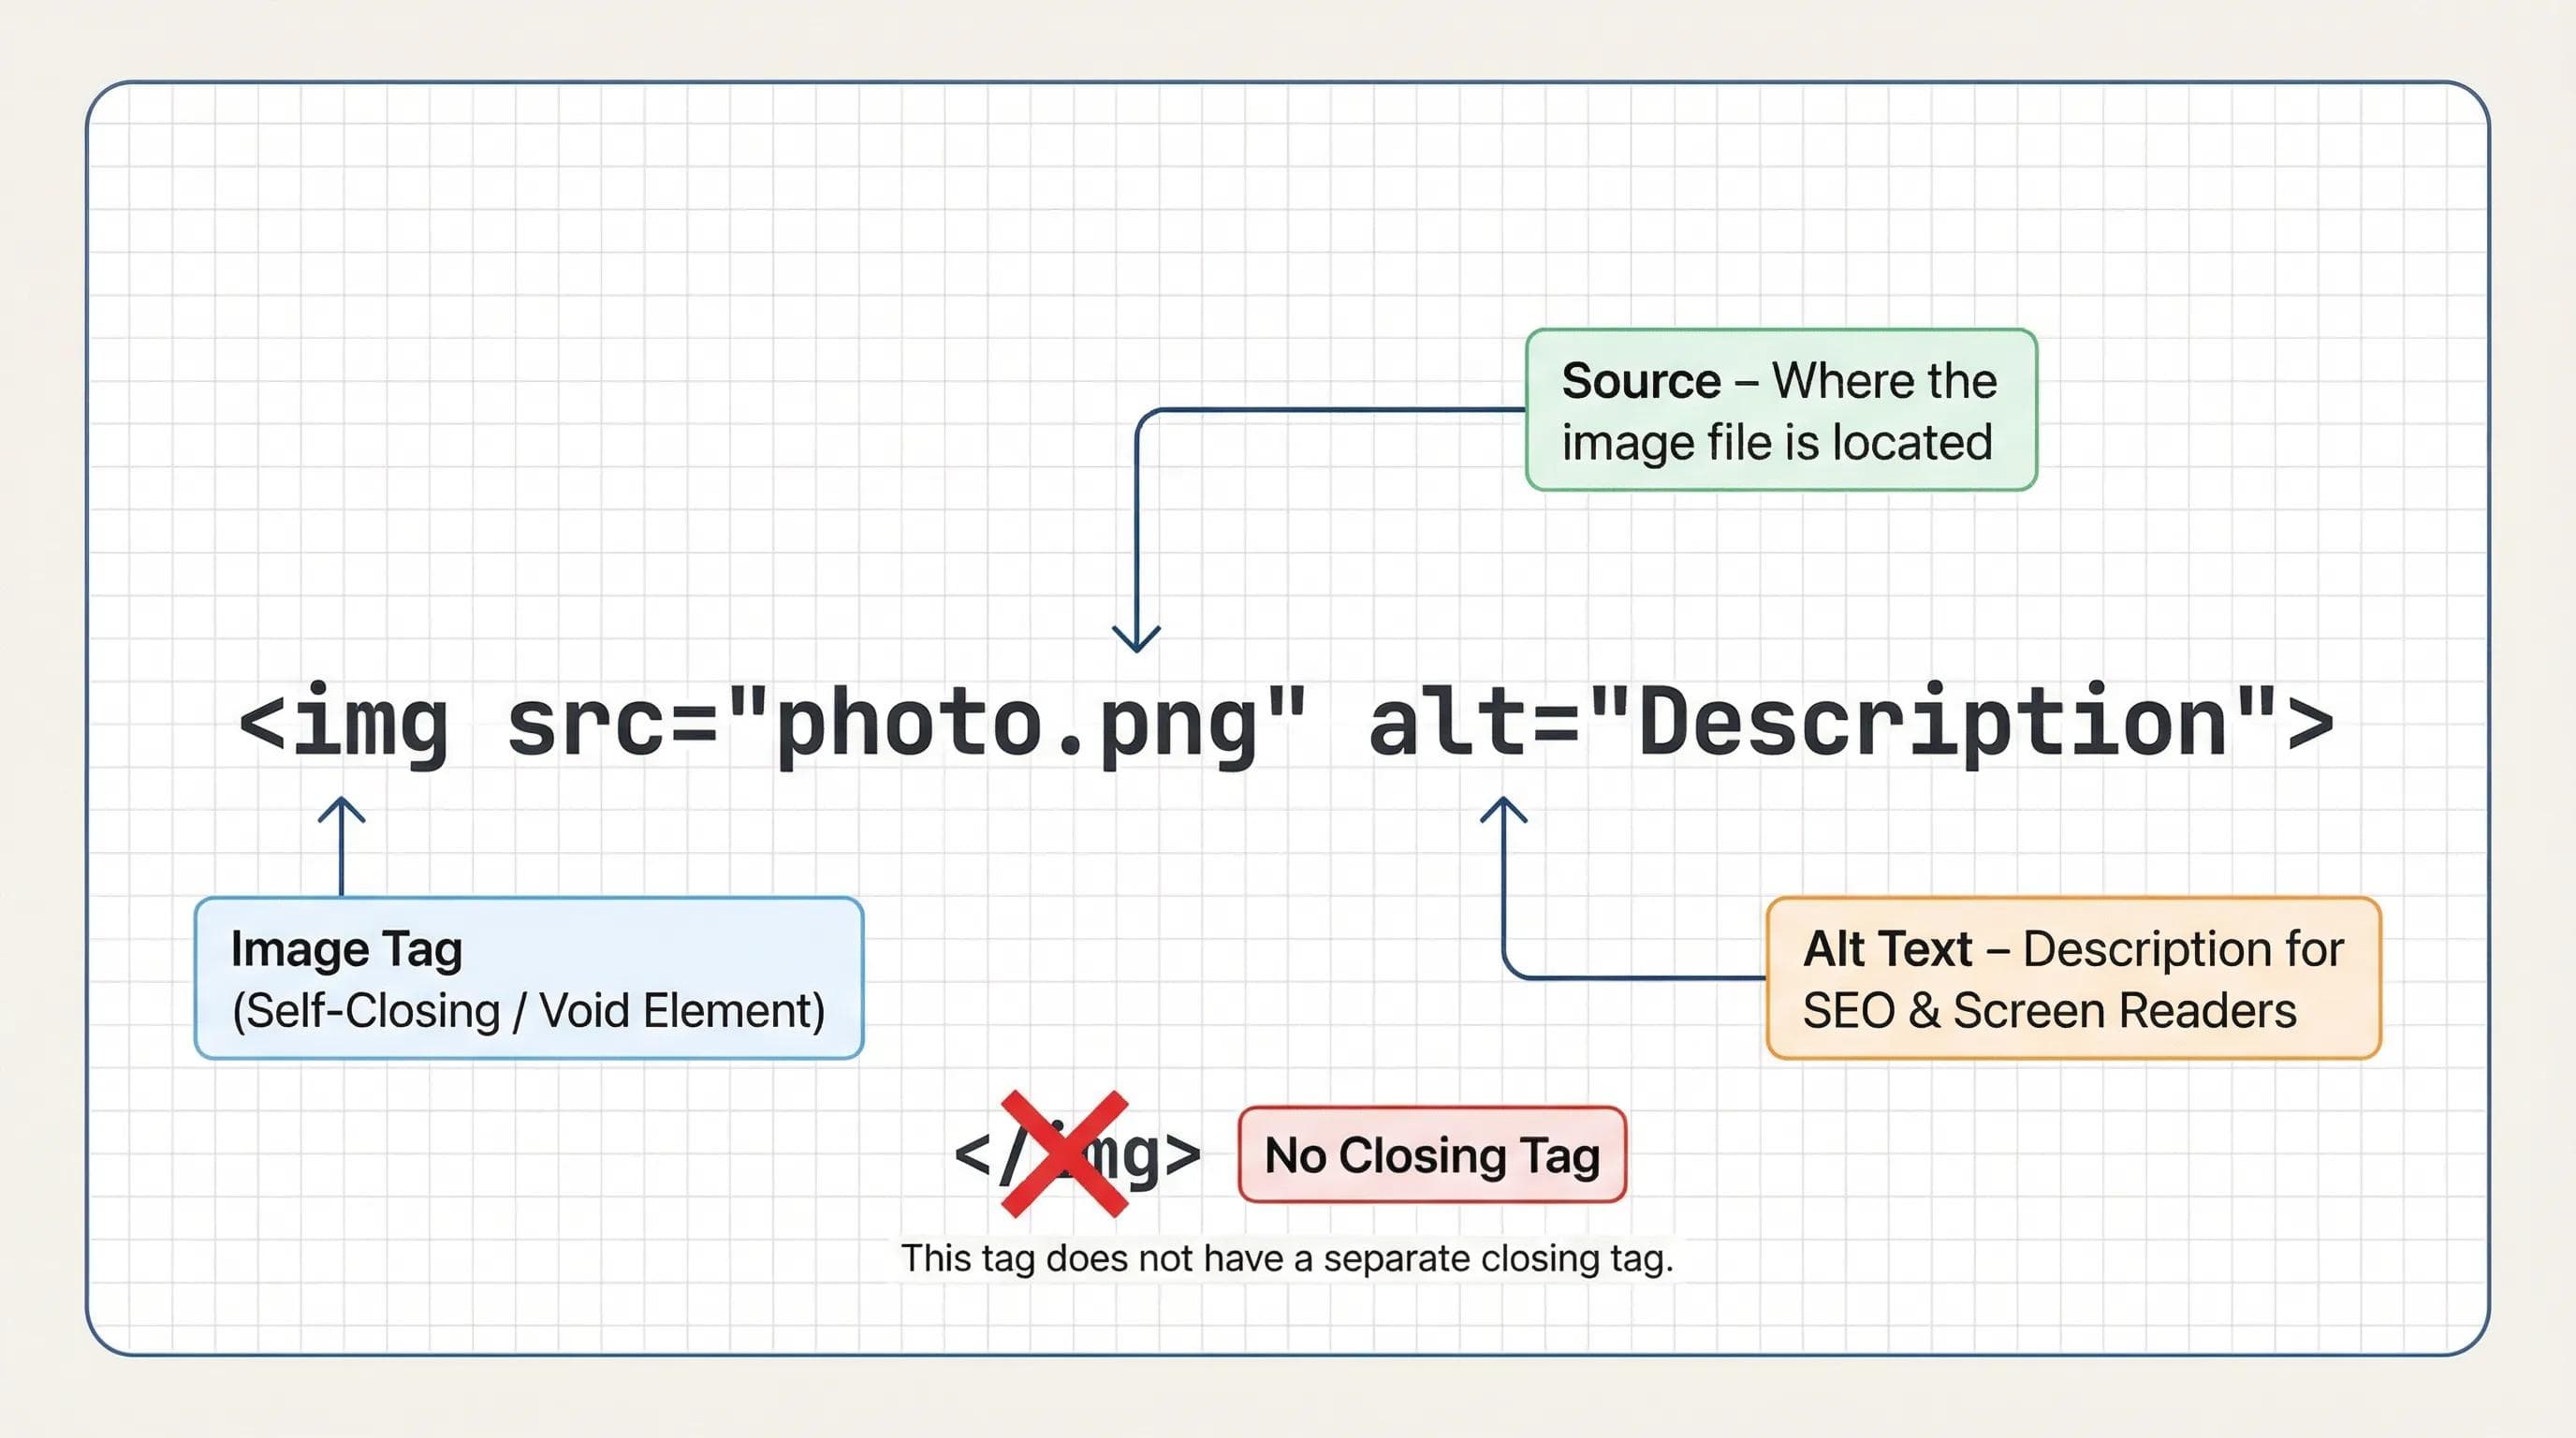
The Source (src): Where is the Photo?
Just like the
href attribute in links, the <img> tag needs a path. We use the src (Source) attribute.Organizing Your Files (Best Practice): Don't dump 50 photos next to your
.html files. It gets messy.- Create a folder named
images. - Put your photo (e.g., x
.png) inside it. - Link it like this:
html
<img src="images/x.png">The Most Important Attribute: Alt Text (alt)
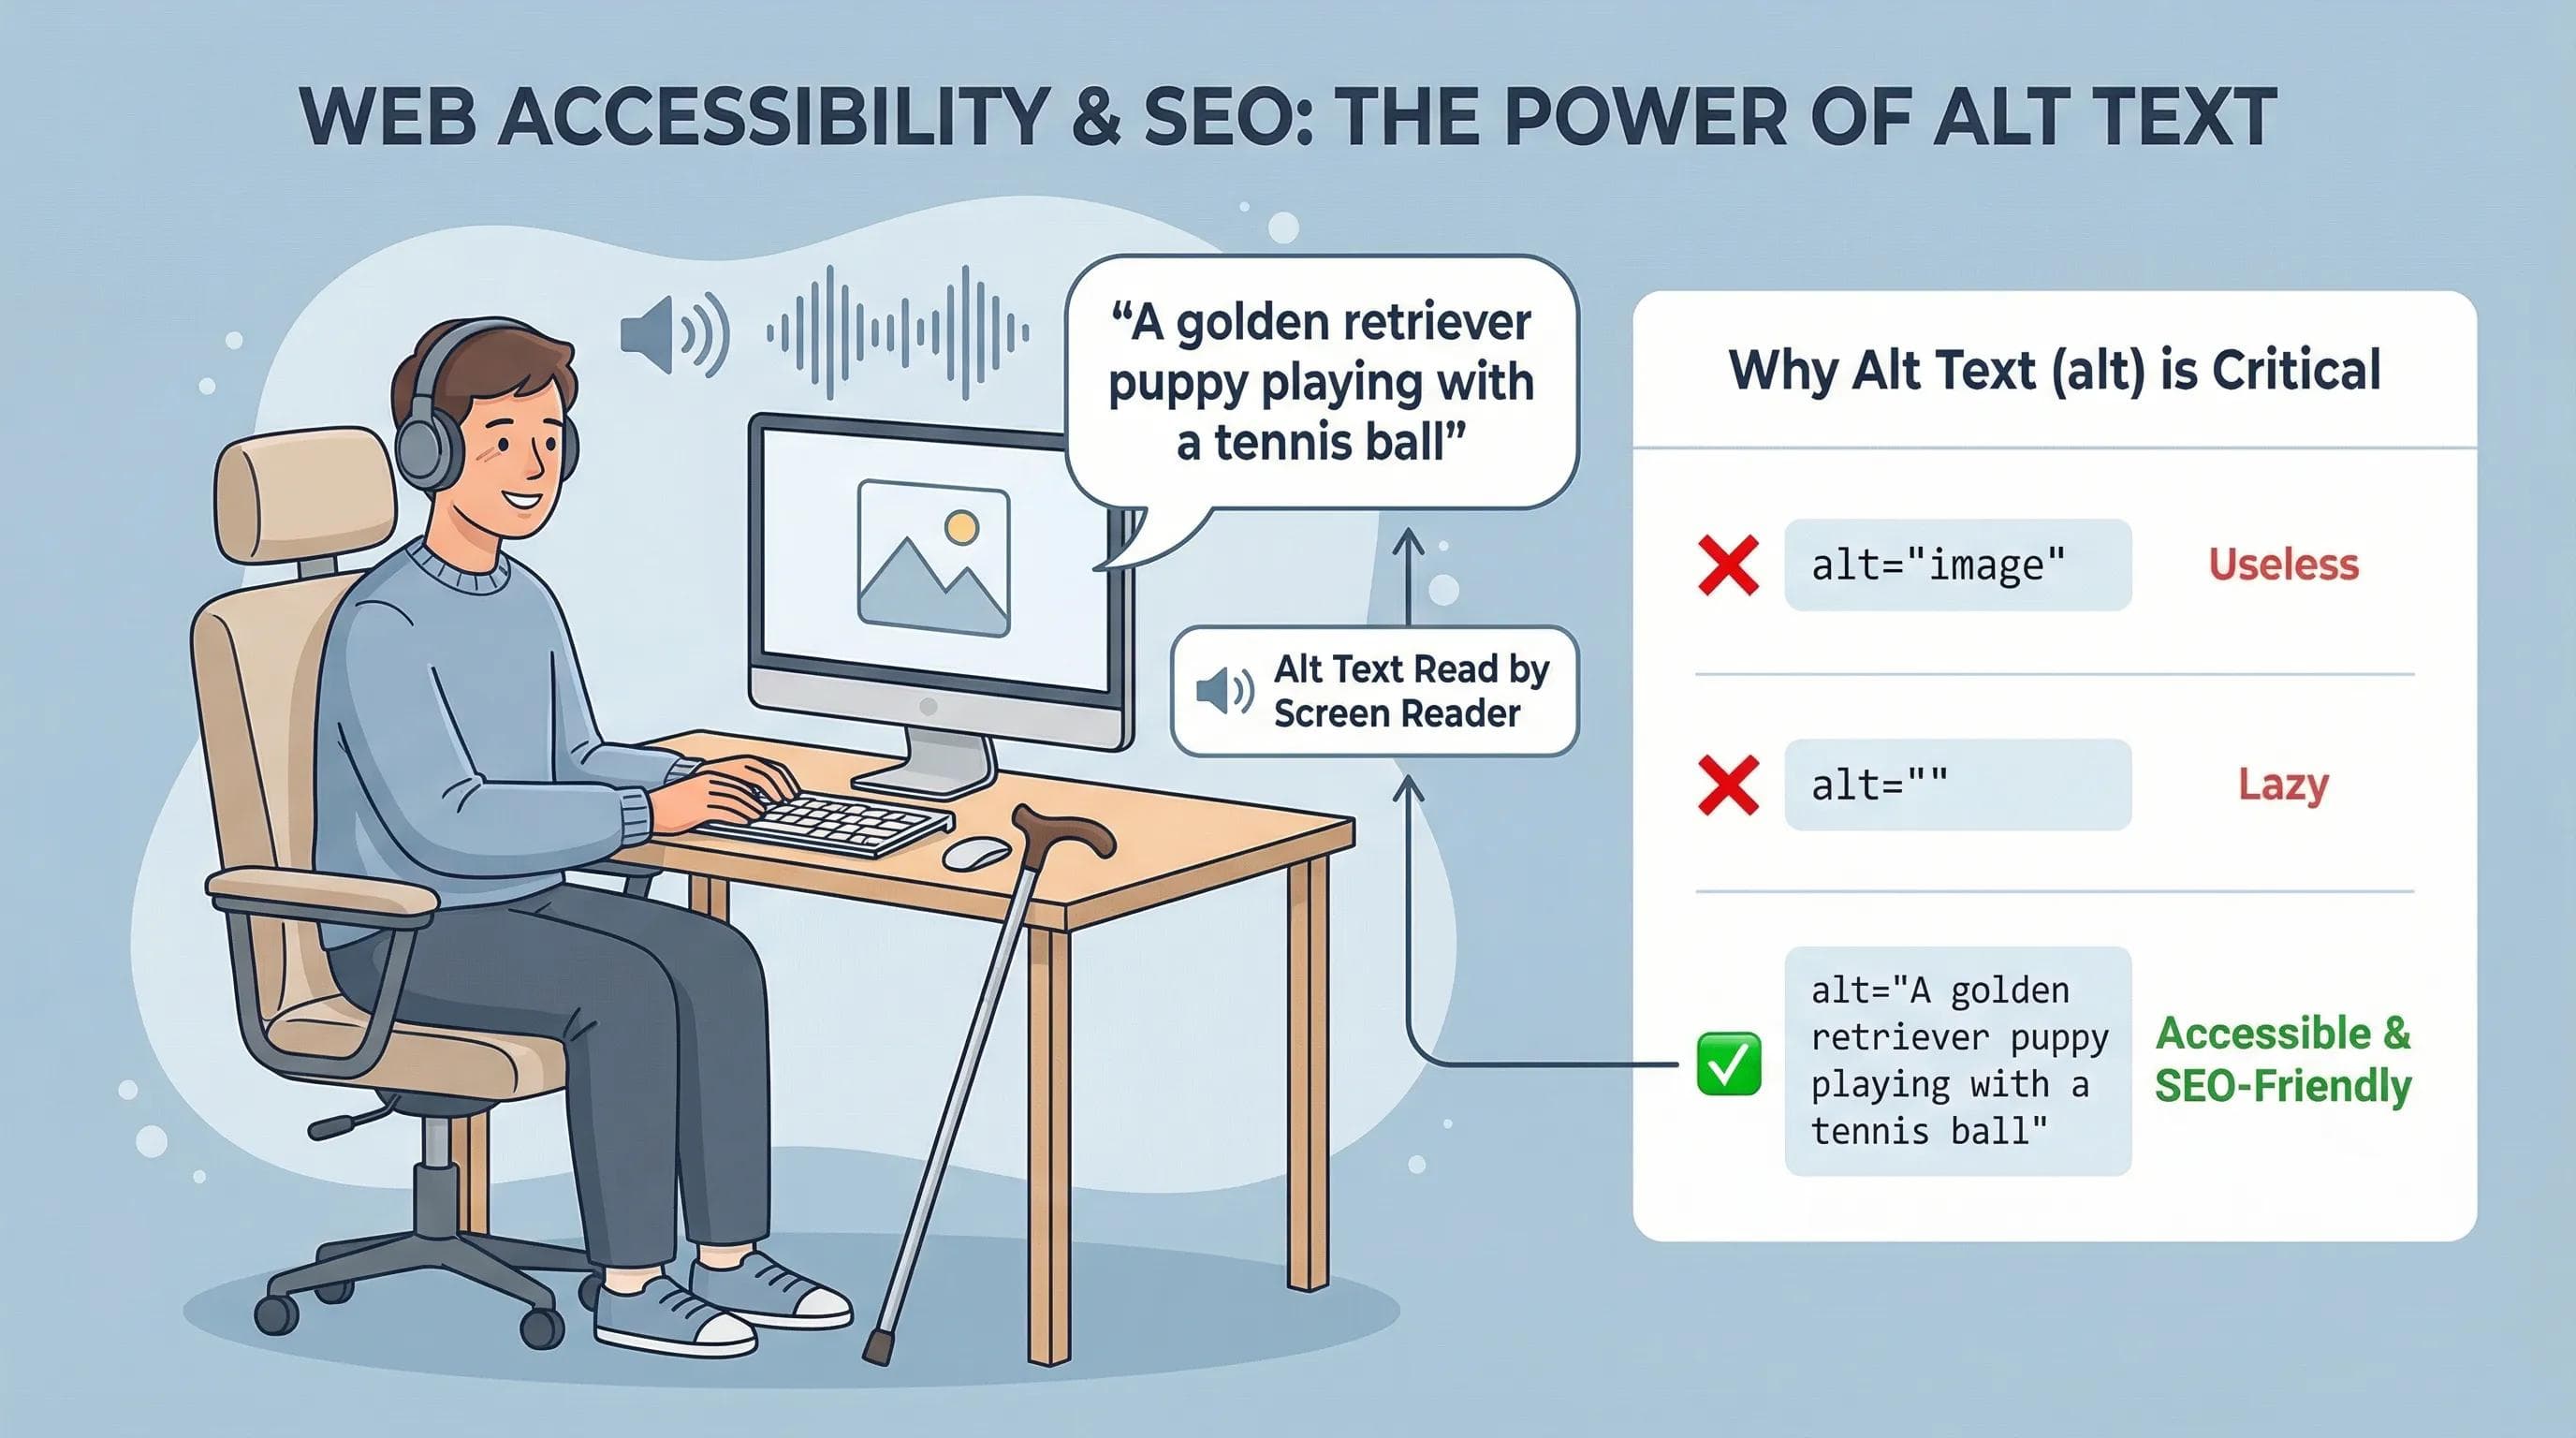
If you forget this attribute, you are failing at Web Development.
alt stands for Alternative Text.Why is it critical?
- Google is Blind: Search engines cannot "see" pixels. They read the
alttext to understand what the image is. - Accessibility: Blind users use Screen Readers. When they reach an image, the computer reads the
alttext out loud to them. - Broken Images: If your image fails to load (slow internet), the text shows up instead.
⚠️ Bad vs. Good Alt Text
-
alt="image"(Useless) -
alt=""(Lazy) alt="A golden retriever puppy playing with a tennis ball"(Perfect)
Sizing & Performance: width, height, & .webp
Have you ever visited a website, started reading, and suddenly the text jumps down because an image just loaded? That is called Layout Shift, and it is annoying.
To prevent this, ALWAYS define width and height.
html
<img src="x.png" width="200" height="100" alt="Logo">Note: You don't need to write px (pixels). The browser knows.Use Modern Formats (.webp)
Stop using huge .png or .jpg files if you can avoid it. Use .webp (Web Picture) format. It was created by Google and is much smaller in file size (loads faster) while keeping the same quality.
The AI Angle: Let AI Be Your Eyes
Writing descriptive
alt text for 20+ images can be boring. This is where we are going to take help of AI to reduce our burden and save time ;)So, for that we'll just upload an image to ChatGPT or Gemini and ask: "Generate an SEO-friendly
alt text for this image description."Now, let the AI describe the details, and you paste it into your code. Work smarter, not harder.
Practical Task: Adding Visuals to Your Profile
Let’s upgrade your existing Profile and About pages. Right now, they are just text. We are going to add a profile picture and a workspace photo.
Step 1: The Setup
- Inside your project folder, create a new folder named
images. - Find a photo of yourself (or any avatar) and name it
profile.png“It would be better if you use .webp“. Save it inside theimagesfolder. - Find a photo of a computer/code and name it
setup.png. Save it inside theimagesfolder.
Step 2: Update
index.html (The Profile) We will add your profile picture right under your name.Open your
index.html and update it like this:html
<body>
    <a href="about.html">My Journey</a> |
    <a href="https://google.com" target="_blank">Google Search</a>
    <hr>
    <h1 title="Welcome to my world!">[Your Name]</h1>
    <a href="about.html">
    <img src="images/profile.webp" alt="Profile photo of [Your Name]" width="150">
    </a>
    <h2 style="color: blue;">Frontend Developer & Creator</h2>
    <hr>
    <h3>About You</h3>
    <p id="bio">
    Hi! I am a <strong>passionate</strong> developer learning to build the web.
    I don't just write code; I write <em>logic</em>.
    </p>
    <h3>Your Hobbies</h3>
    <p class="hobby">1. Hobby</p>
    <p class="hobby">2. Hobby</p>
    <p class="hobby">3. Hobby</p>
</body>
Step 3: Update
about.html Let’s show what you are working on. We will add the setup photo here.Open your
about.html and update it like this:html
<body>
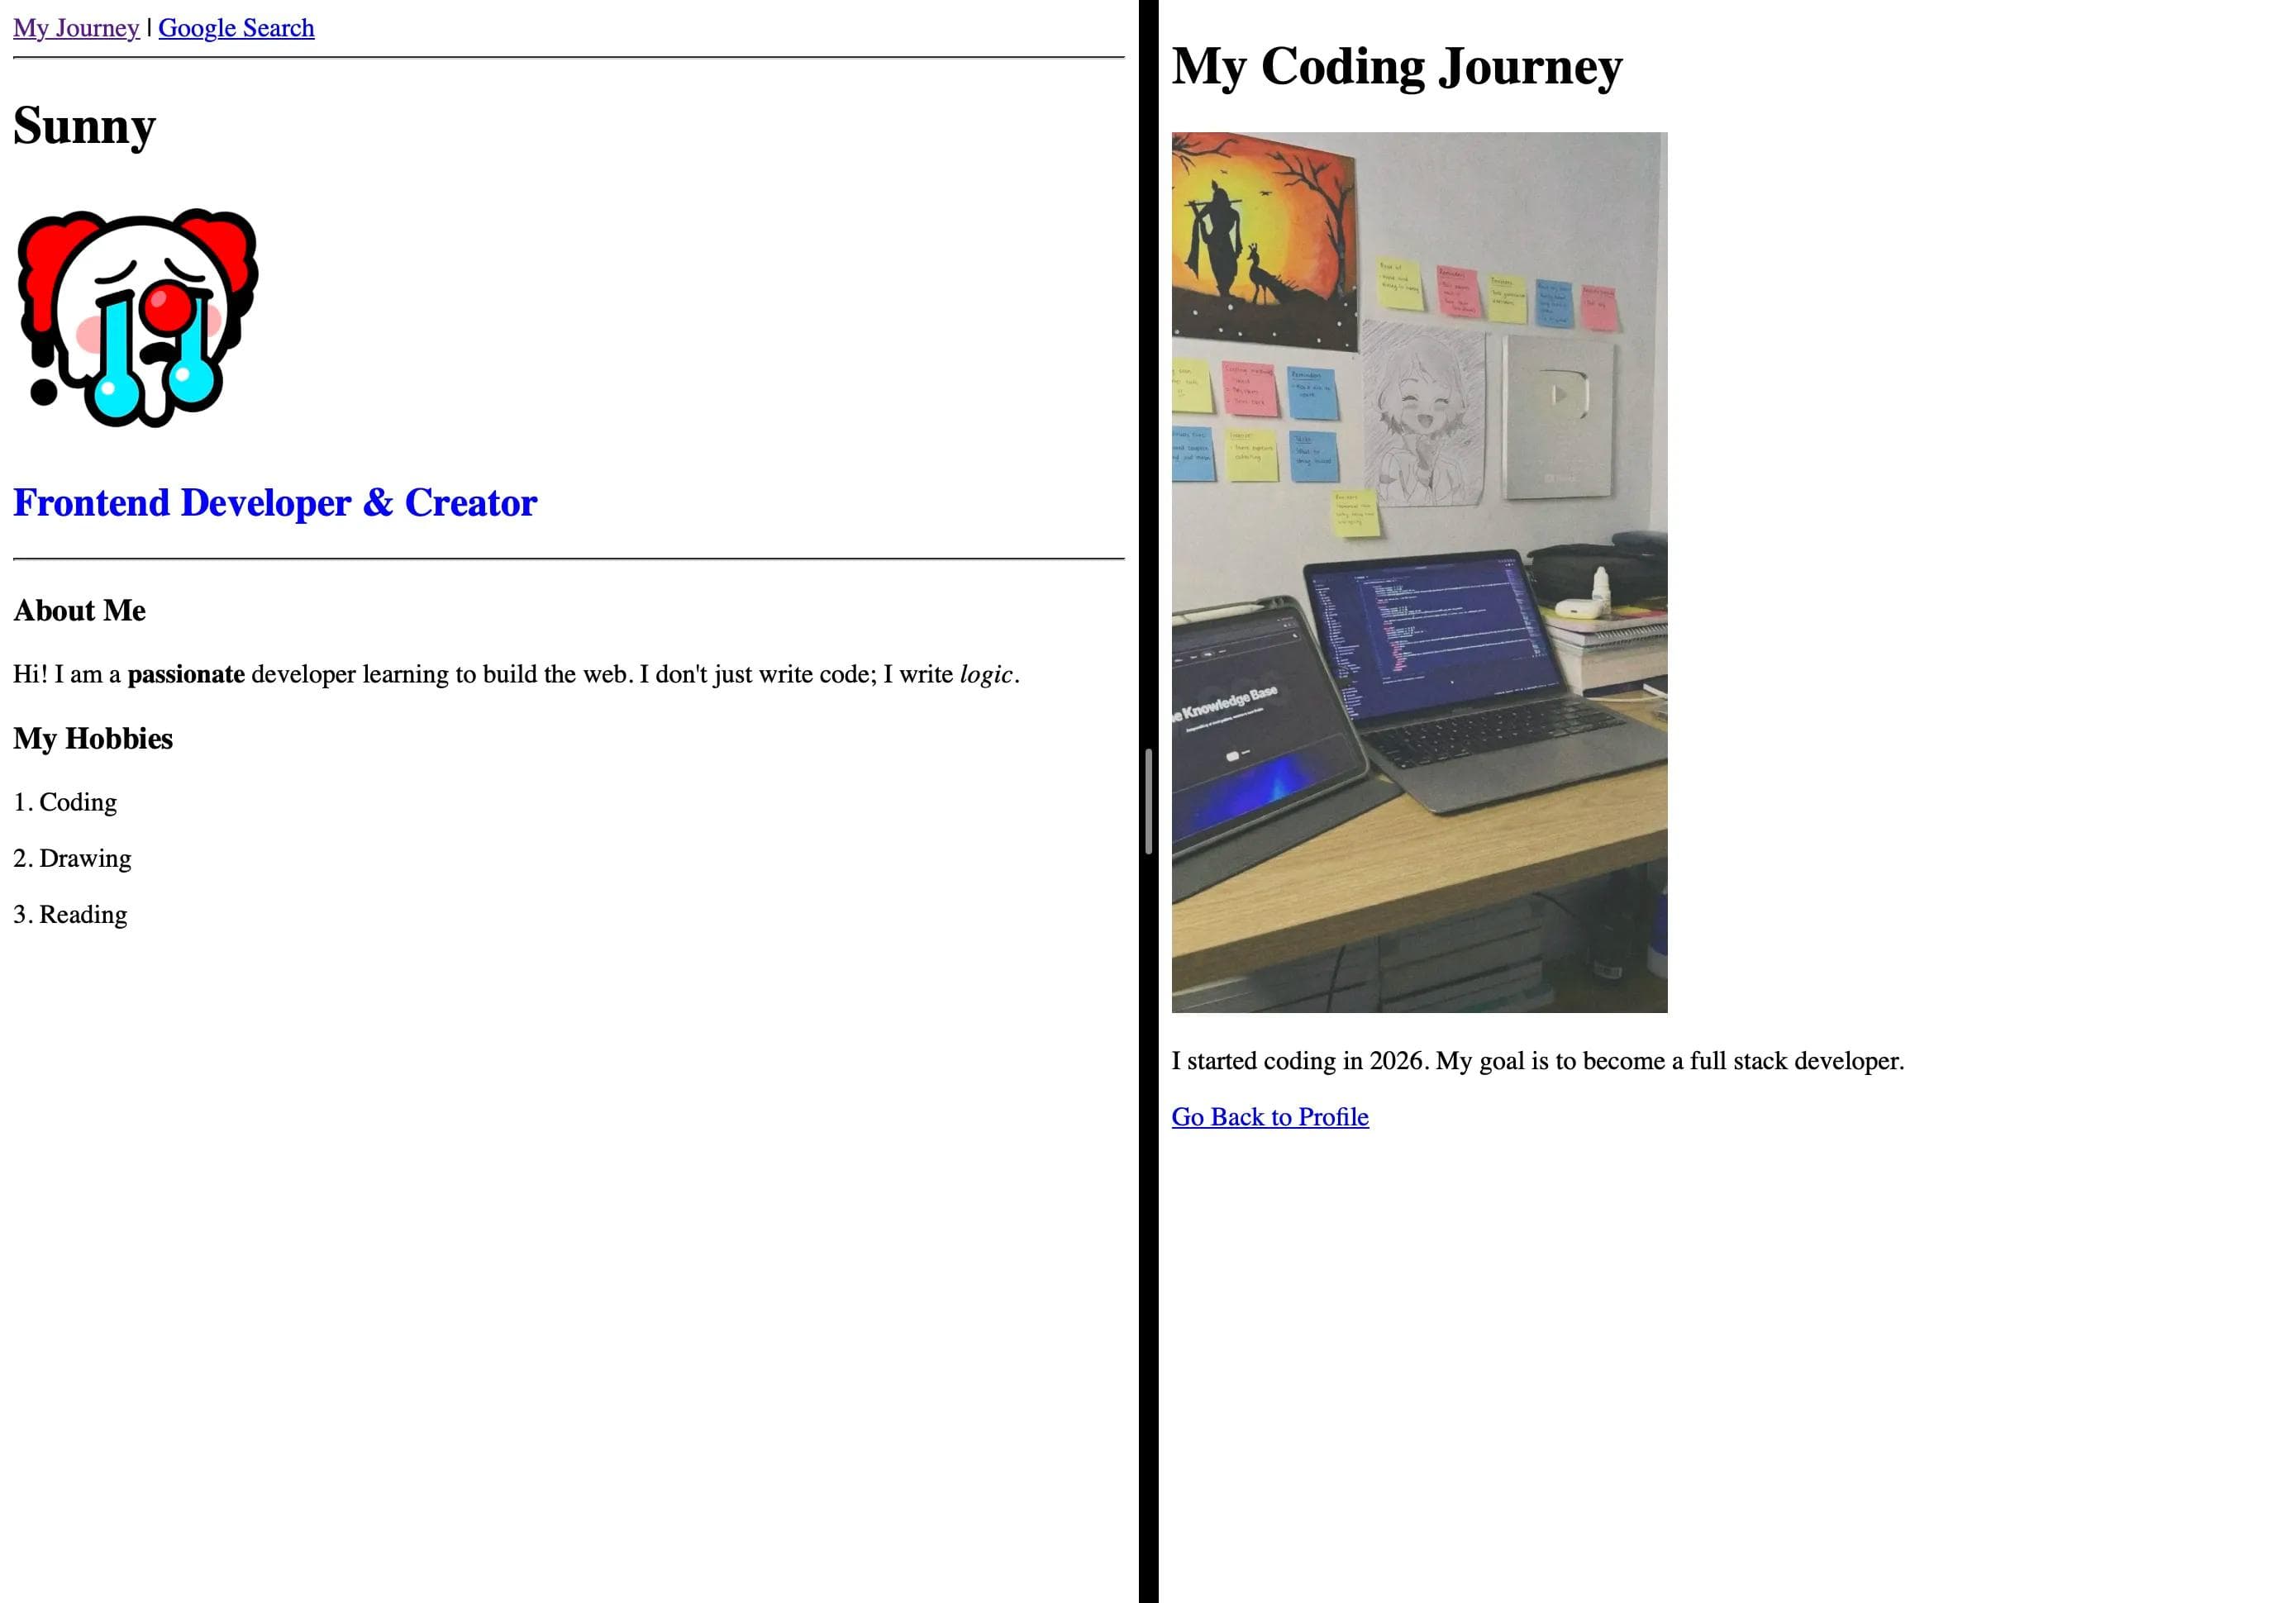
<h1>My Coding Journey</h1>
<img src="images/setup.webp" alt="My coding workspace with a laptop and coffee" width="300">
<p>
I started coding in 2026. My goal is to become a full stack developer.
</p>
<a href="index.html">Go Back to Profile</a>
</body>Step 4: Test It
- Open Live Server.
- You should see your photo on the main page.
- Click on that and It should redirect you to the "About" page.
- On the About page, you should see your setup photo.
Time to Experiment!
Don't just copy-paste this! Go ahead and play with the code.
- Change the Size: Change the
width="150"towidth="500"and see what happens to your page layout. - Test the Alt Text: Deliberately make a spelling mistake in your image name (e.g., change
profile.pngtoprofeyel.png). Save it and see if youralttext appears on the screen. - Move Things Around: Try putting an
<img>tag inside your<h1>tag. Does it work? - Create a Mini Gallery: Try adding 2 or more images side-by-side. Make one of them clickable (link it to Google) and keep the others as plain images. See how they stack up on the screen!
The best way to master HTML is to break things and then fix them!
Conclusion
Your website now has Structure, Text, Navigation, and Visuals. It is starting to look like a real product.
But currently, our information is just floating around. What if we want to create a Shopping List? What if we want to write a Recipe with steps (1, 2, 3)? What if we want to build a Navigation Menu (Home, About, Contact)?
We need a way to group items together.
In the next blog post, we will master HTML Lists. We will learn the difference between Bullet Points (Unordered) and Numbers (Ordered), and discover the secret that every Navigation Bar on the internet is actually just a List in disguise.
See you in the next post!
You can Read next part from here - READ NOW!
HTML Series: Your First Step in Modern Web Development (2026)
Step 7 of 22